Self-install Fibre Broadband steps
-
1
-
2
-
3
-
4
-
5
-
Step 1
If you have an old modem plugged in, unplug it from the electrical wall socket and any other devices it's connected to.Now you’re ready to set up your new Vodafone Modem.![Unpluging the modem Unpluging the modem]()
-
Step 2
Connect the WAN cable (found in your modem box) from your modem to the LAN port on your fibre box. (Your fibre box is on your wall).
Make sure your fibre box is plugged in and turned on.
Then, plug the other end of the WAN cable into the port on your modem labelled “WAN”.
![WAN connection WAN connection]()
-
Step 3
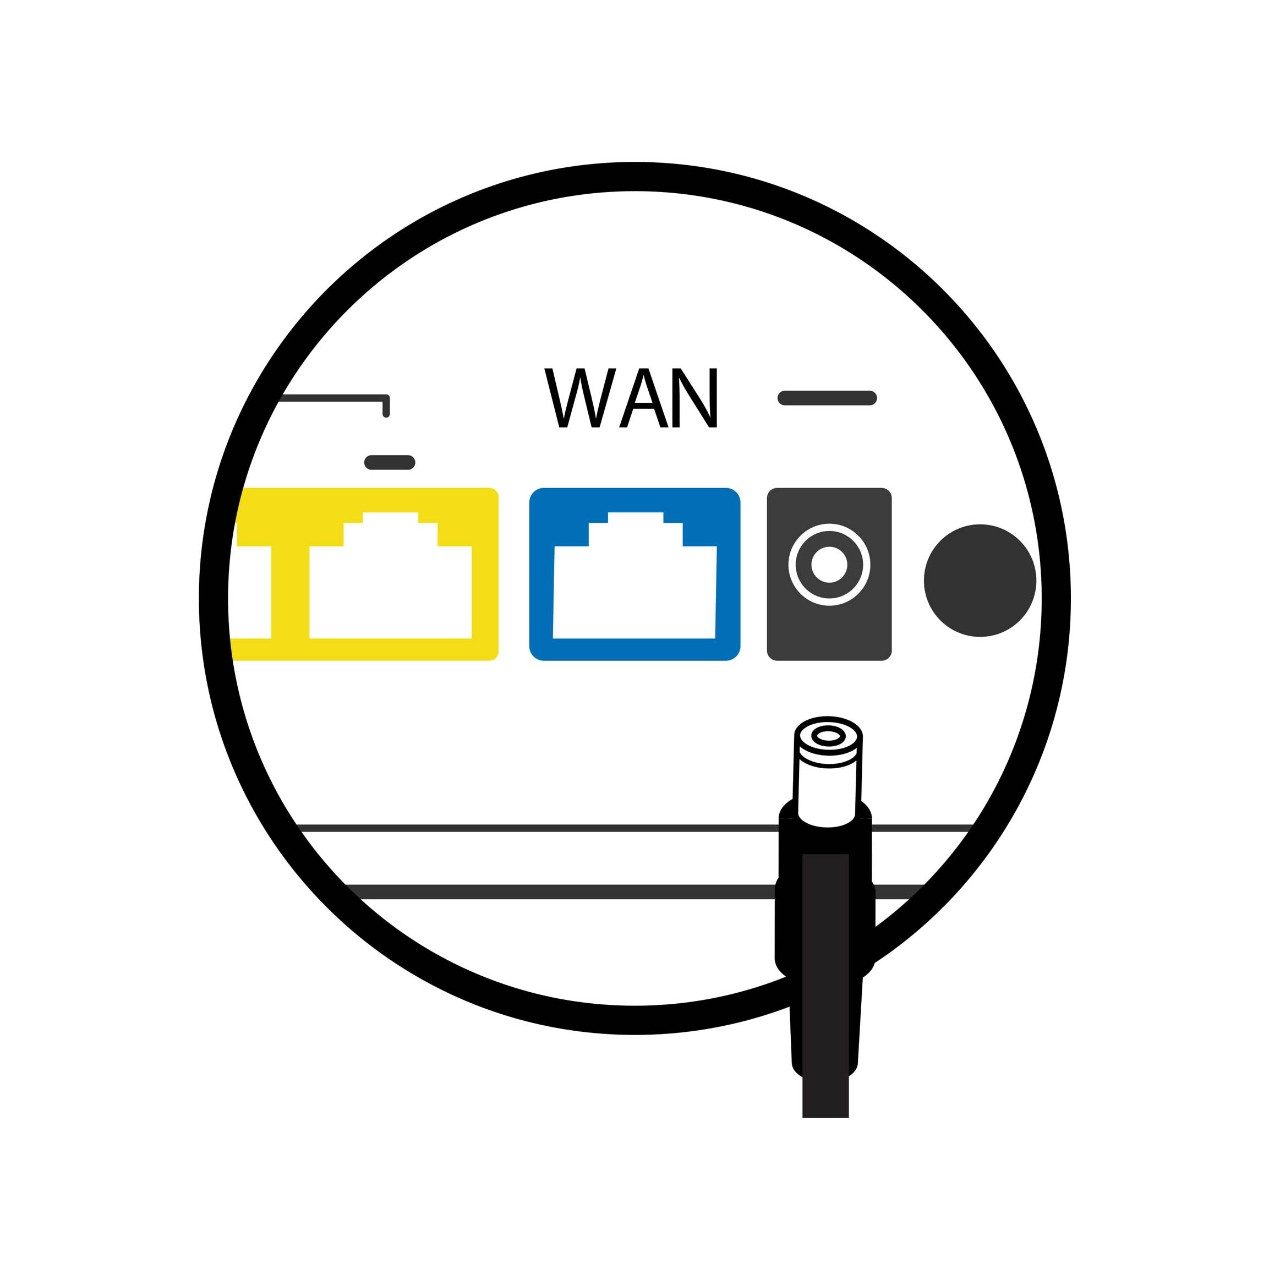
Plug the black power cable into the power port on the back of your modem.
Then plug it into the wall socket.
![WAN WAN image]()
-
Step 4
Press the power button on the modem.
It might take up to 5 minutes to connect. You'll know it's connected when the internet light turns from red to solid white.
Once connected, you may experience a momentary drop in your service while the modem upgrades.
![Power button Power button]()
-
Step 5
Once your modem is connected to the internet, you can connect your devices.
- Connect using Wi-Fi: Connect to your Vodafone Wi-Fi network using the name and password on the bottom of the modem.
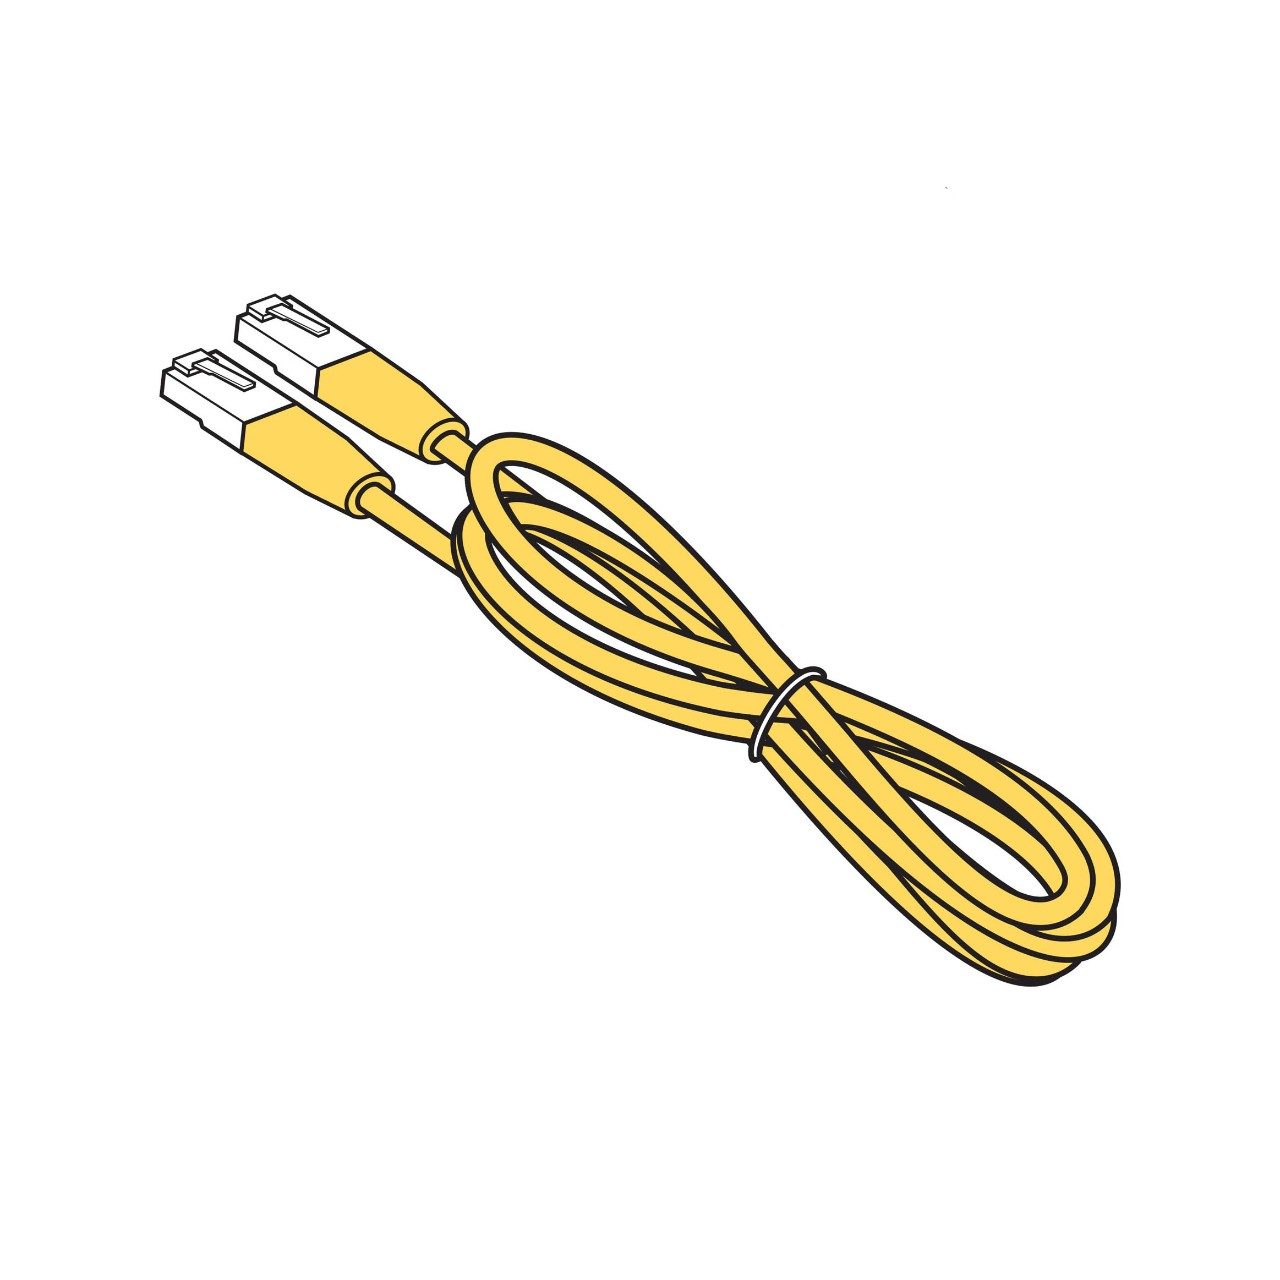
- Connect using cable: Use the yellow cable and connect one end of it to one of the yellow Ethernet ports on the modem and the other end to the device you want connected. You can connect up to 4 devices.
![Wifi access details and yellow cable Wifi access details and yellow cable]()
Stuck with your installation process?
If you have any trouble with your self-installation please contact us and we'll help get you set up.


